Have you ever visited any most famous website only to land on a page that says “Our site is in under maintenance or under construction.? Most of these popular websites use maintenance mode page to improve user experience because no one users can likes to visit any broken website or page.
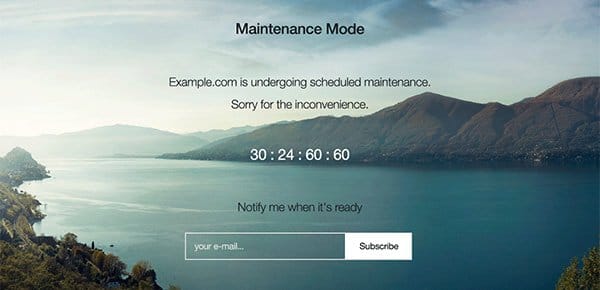
On the other side, modern websites use maintenance mode as a default coming soon page. So, in this posts, we will show you how to put your WordPress website in construction or maintenance mode for uses while allowing admin to access the admin dashboard area, complete control and full website.
Before starting, First of all you need to do is install and activate this WP Maintenance Mode plugin. After installing you need to go to Settings » WP Maintenance Mode to configure the plugin.
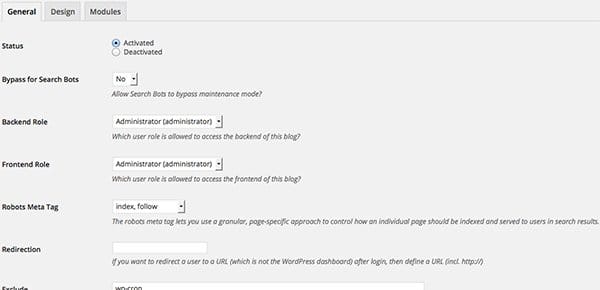
This plugin offers 3 different tabs like General, Design and Module.
General Tab : This is the simply status, which is set to deactivated. In order to make your WordPress website into construction or maintenance mode, you need to set it to ‘Activated’.
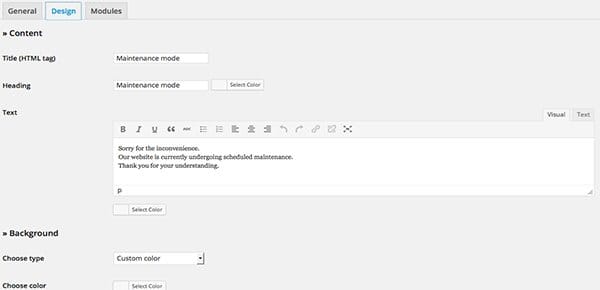
Design Tab : This tab gives you an option to customize HTMl tag, heading, custom text, background image, color and other designing options. This plugin allows you to create beautiful splash pages to display during maintenance mode. To create your splash page, simply click on this tab.
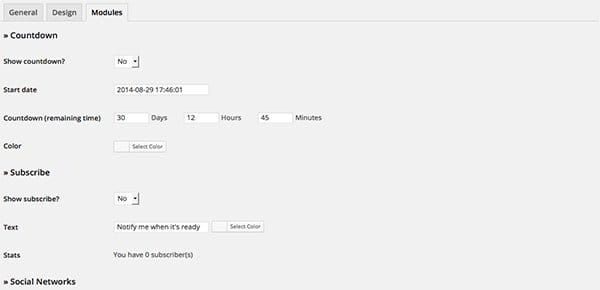
Module Tab : In this section you can easily manage countdown time, starting date, color, subscribers, social media profile links, contact section and much more.
If you want to search engines still to be able to see your website while your site is in maintenance mode, then you need to set it as ‘Bypass for Search Bots’ option to enable search engines to fetch your website. If you are unsure about this, then we recommend you to leave as it is or skip it.
This WP Maintenance Mode Plugin offers you to complete control your website while it is in maintenance mode. It means only you can see the website progress which is currently in maintenance mode and login to your dashboard. Also it gives you an option to select the user role allowed to access front and backend. By default it is set to Admin only.
Other options on the page are self explanatory. Once you are satisfied with your settings, you need to click on the Save settings button to save your changes.
